

In one of my previous blogs I mentioned my obsession with printing contact sheets which I had been doing for 35mm negatives and I had a Paterson Proof Printer specially for this.
Since I’ve recently been getting more into medium format photography and when I knew I was going to continue to do prints in a darkroom, I decided to invest in a 120mm Proof Printer from Paterson.
I bought mine brand new on eBay since I struggled to find any second hand ones at a cheaper price in this particular format.
I decided to try it out on my first session in the Brighton Community Darkroom.
However, I made a couple of mistakes. First of all I’m not sure if the mistakes were due to me concentrating so much on mixing up the chemicals and getting used to the enlarger but I’ll explain what I did.
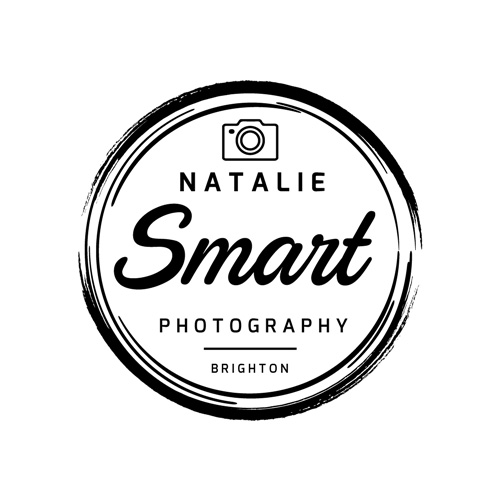
Here is a picture of the first contact sheet I did:
I did the usual test strips first to check the exposure times etc. These photos were taken at Brighton Marina using my Lubitel 166B camera and JCH Streetpan 400 black and white 120mm film. The film is naturally high in contrast which I love.
The first mistake I made was not matching the negatives the correct way round in the proof printer. In my haste to get a contact sheet printed and check I was using the enlarger correctly, I had just put the negatives into the proof printer without really thinking about the direction etc which resulted in this print.
Also, I noticed that the end photo hadn’t quite printed fully. I was perplexed as to why this was and thought perhaps there was something wrong with the proof printer?
I re-read the instructions of how to use the proof printer (which quite honestly, is pretty self explanatory) but I thought I must be doing something wrong. I still couldn’t figure out what I had done wrong. I then read the instructions again and saw the key sentence that I originally must have kept skimming over when reading them originally and here is the mistake I made:
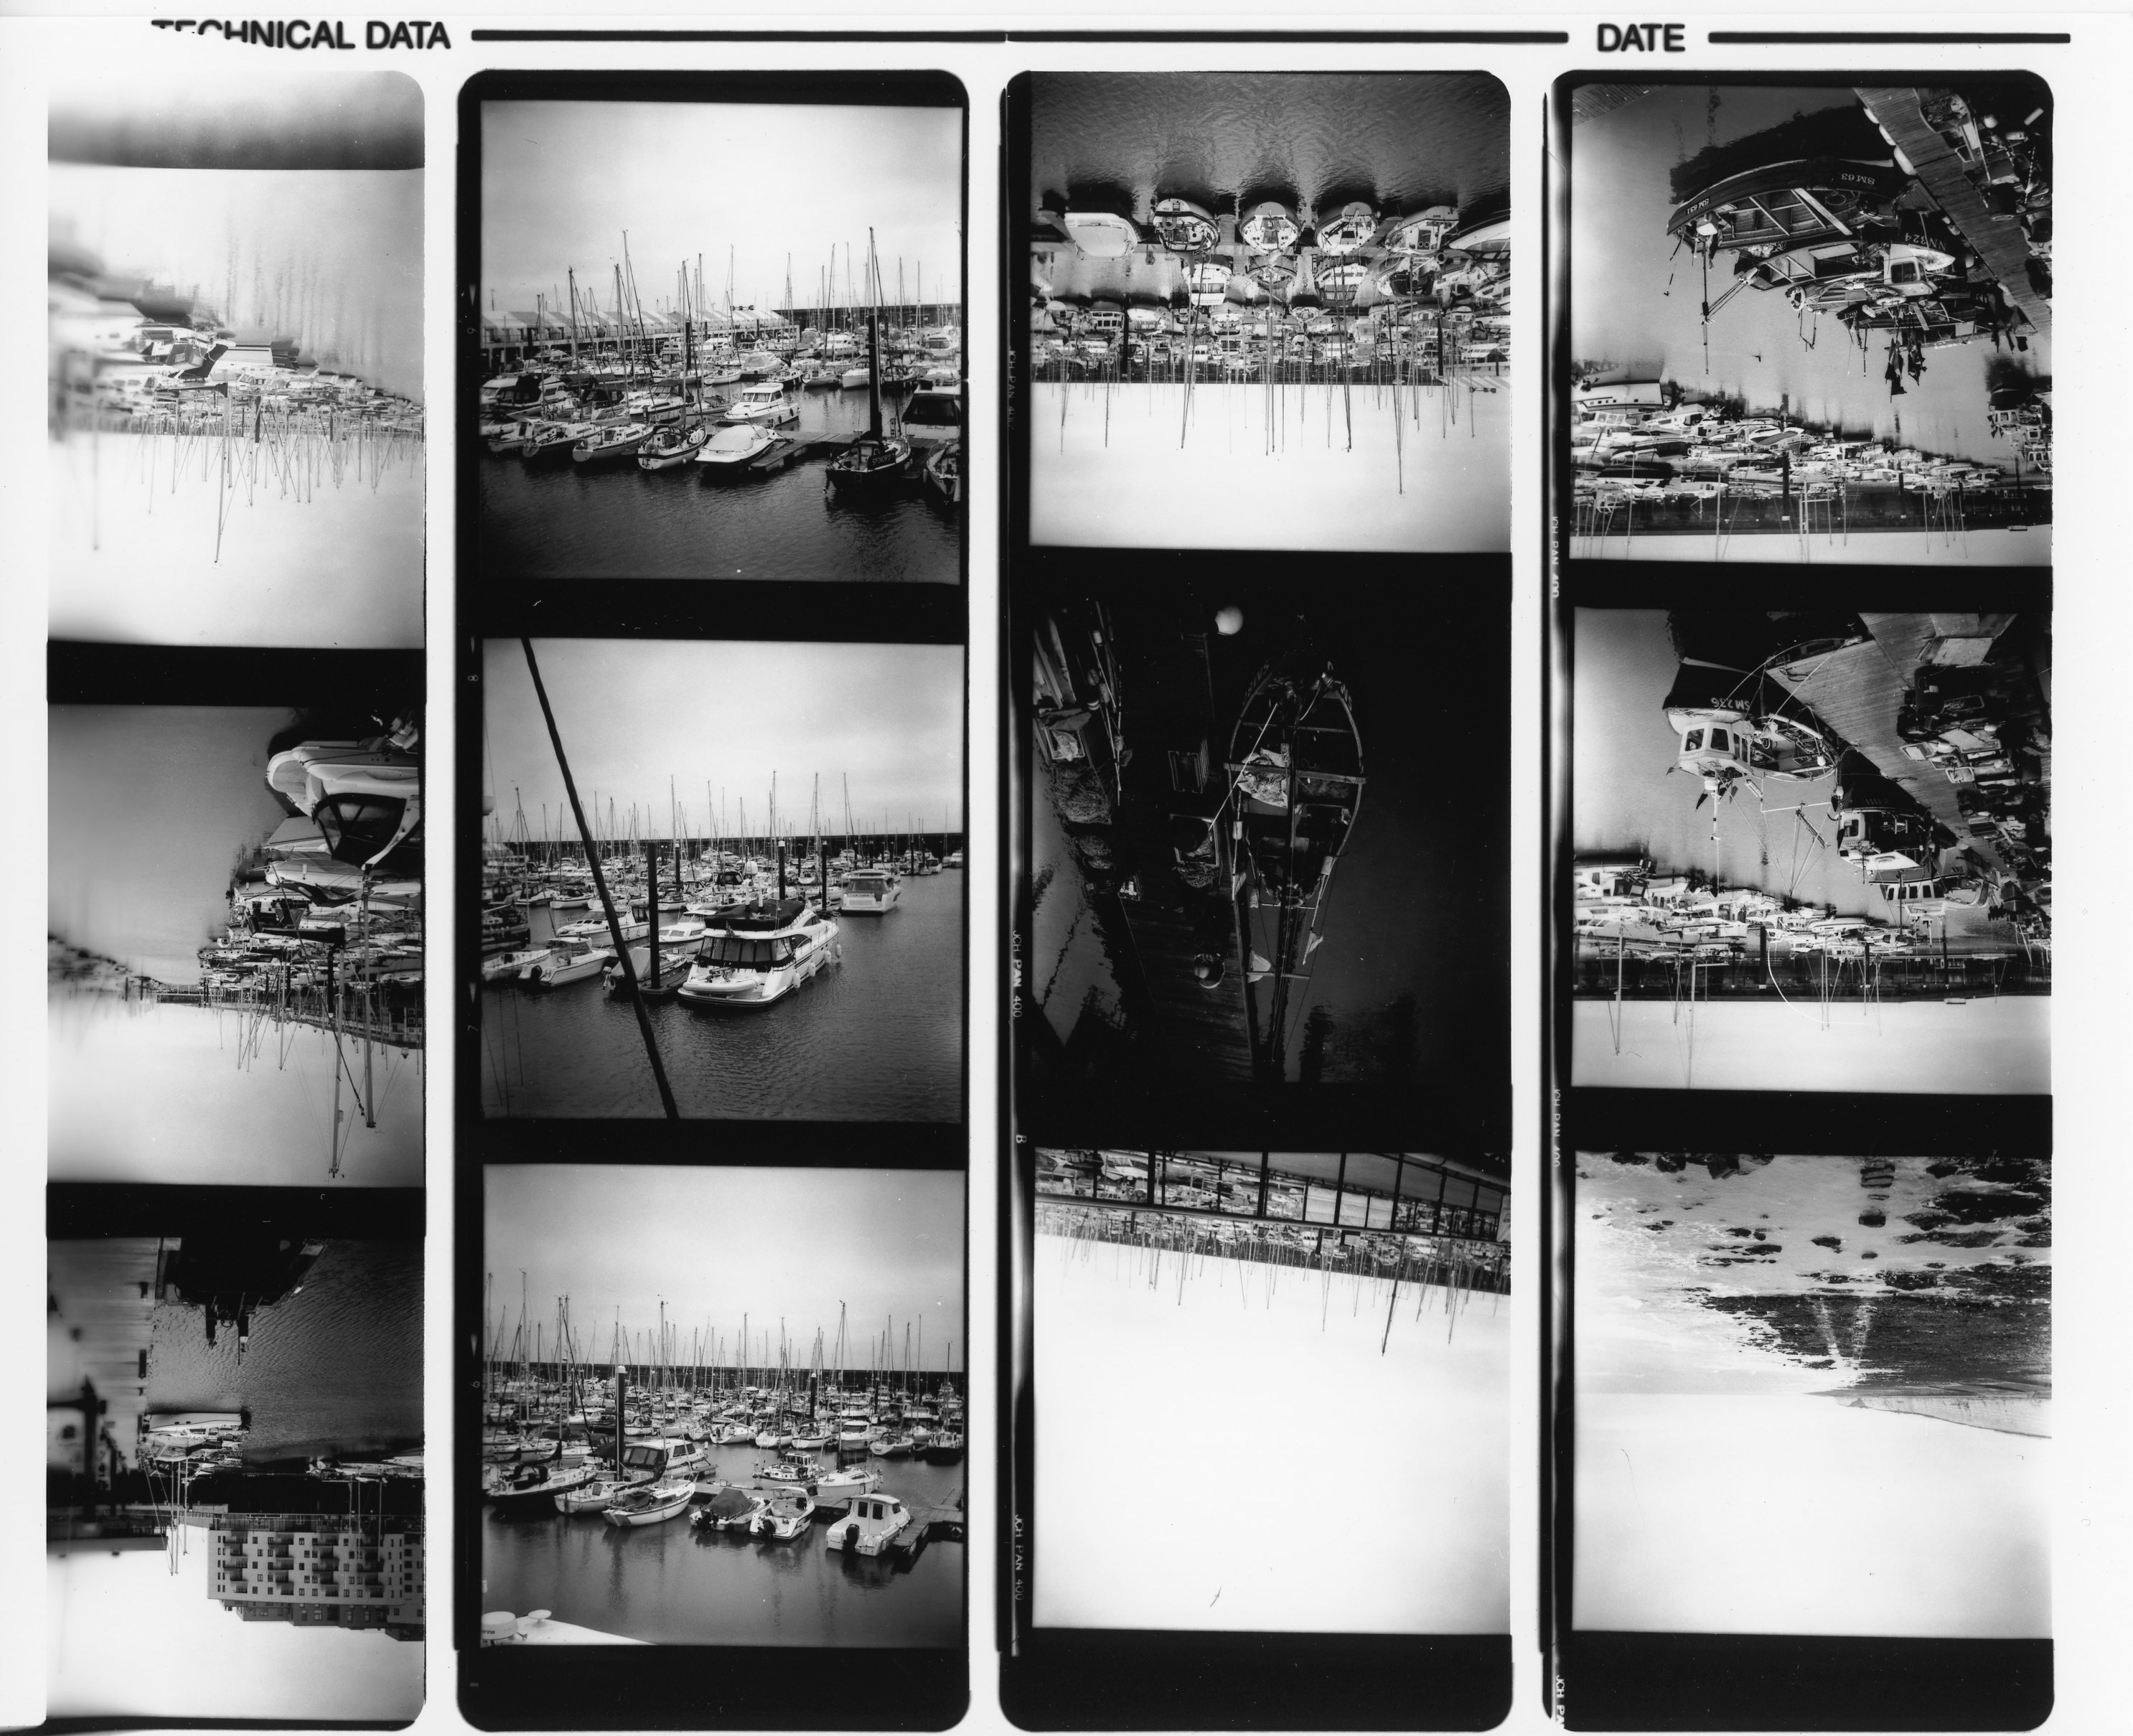
When I print the contact sheet, I was putting the 8 x 10 inch photo paper directly onto the grey sponge area then shutting down the top screen which contained the negatives and subsequently taking an enlargement:
What was happening was that the border where the hinge is on the front screen, was blocking part of the negative from transferring onto the paper, hence why I wasn’t getting the full photo.
Finally I realised from the instructions that I should have been placing the photo paper into the slot of the where the hinge is directly onto the negatives on the glass front:

I’m sure to most people this would seem really obvious, even without reading the instructions, and I’m somewhat embarrassed to admit I did this mistake, but I do tend to lack common sense sometimes!
Once I realised my mistakes, I decided to re-print these negatives again during another session in the darkroom.
I used a No 2 Contrast Filter and did a test strip using exposure times of 30 seconds:
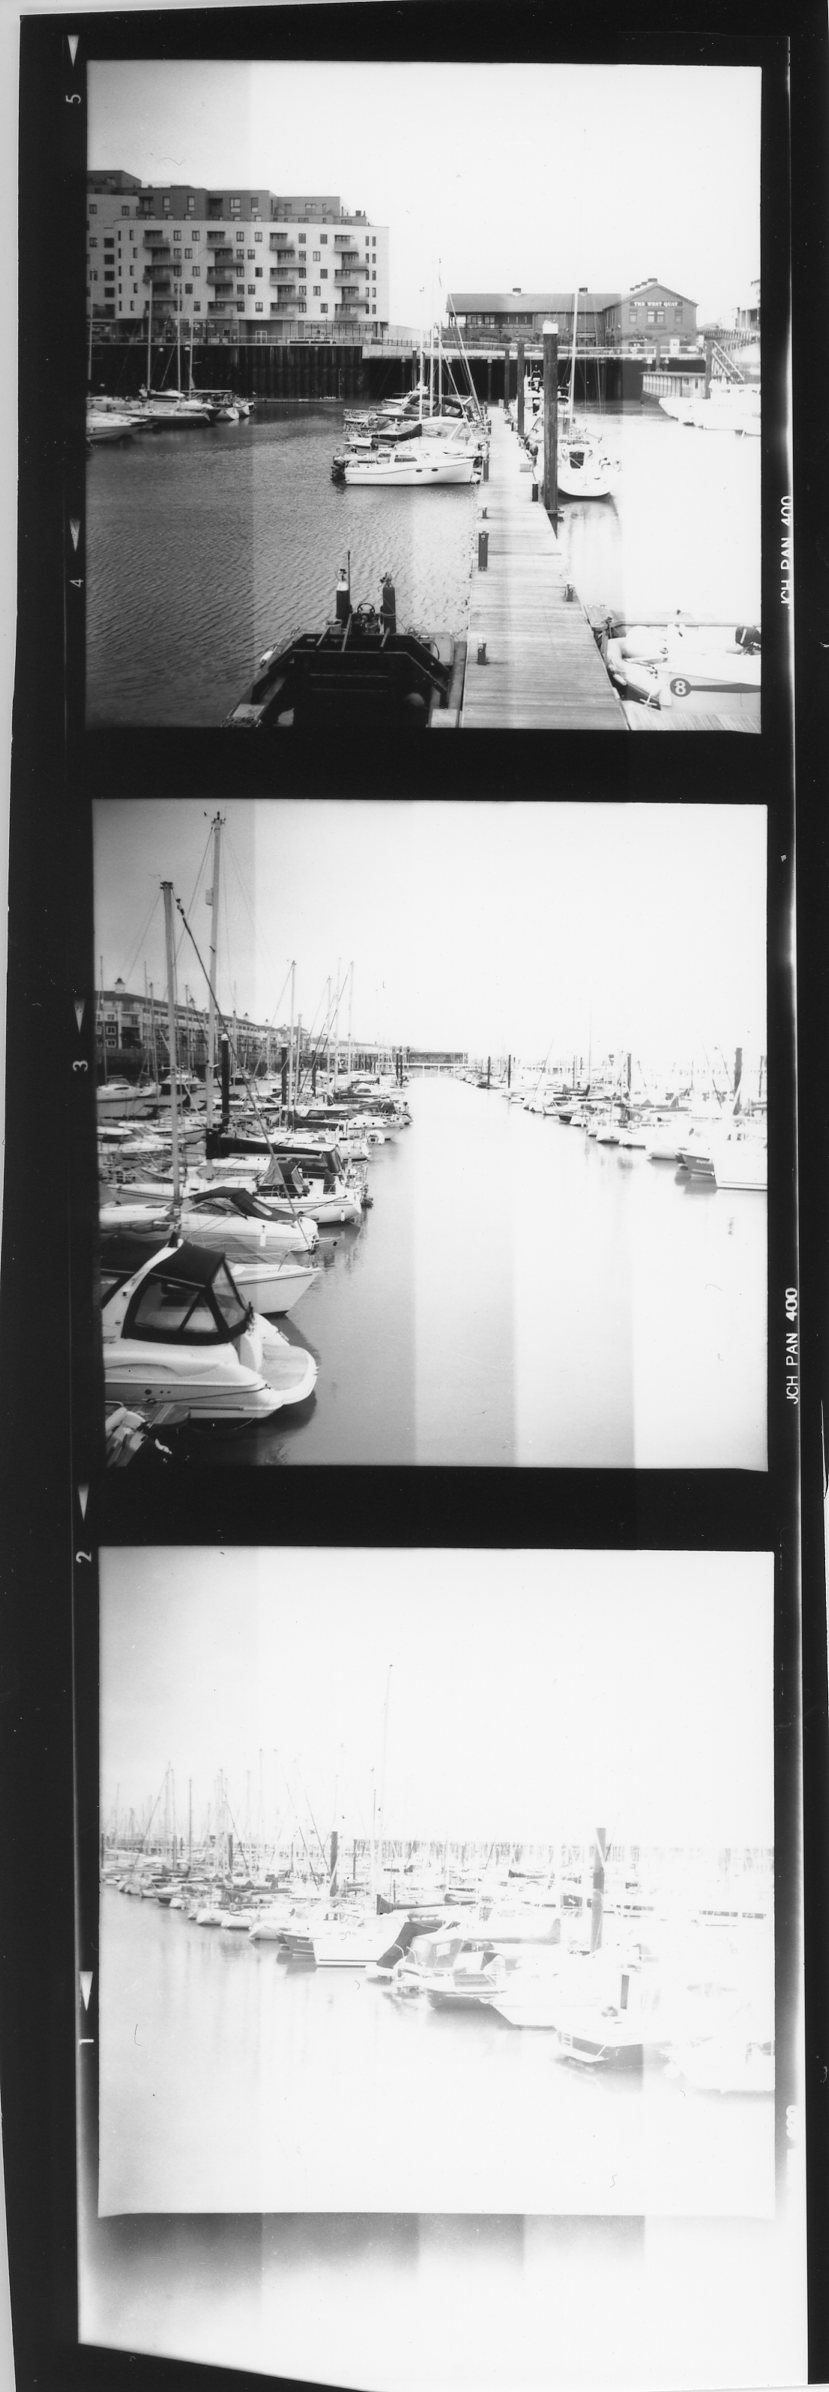
From the test strip I decided on an exposure time of 2 1/2 minutes. Before I printed the whole contact sheet again, I did another test strip at the full 2 1/2 minutes exposure to check I was happy with that:

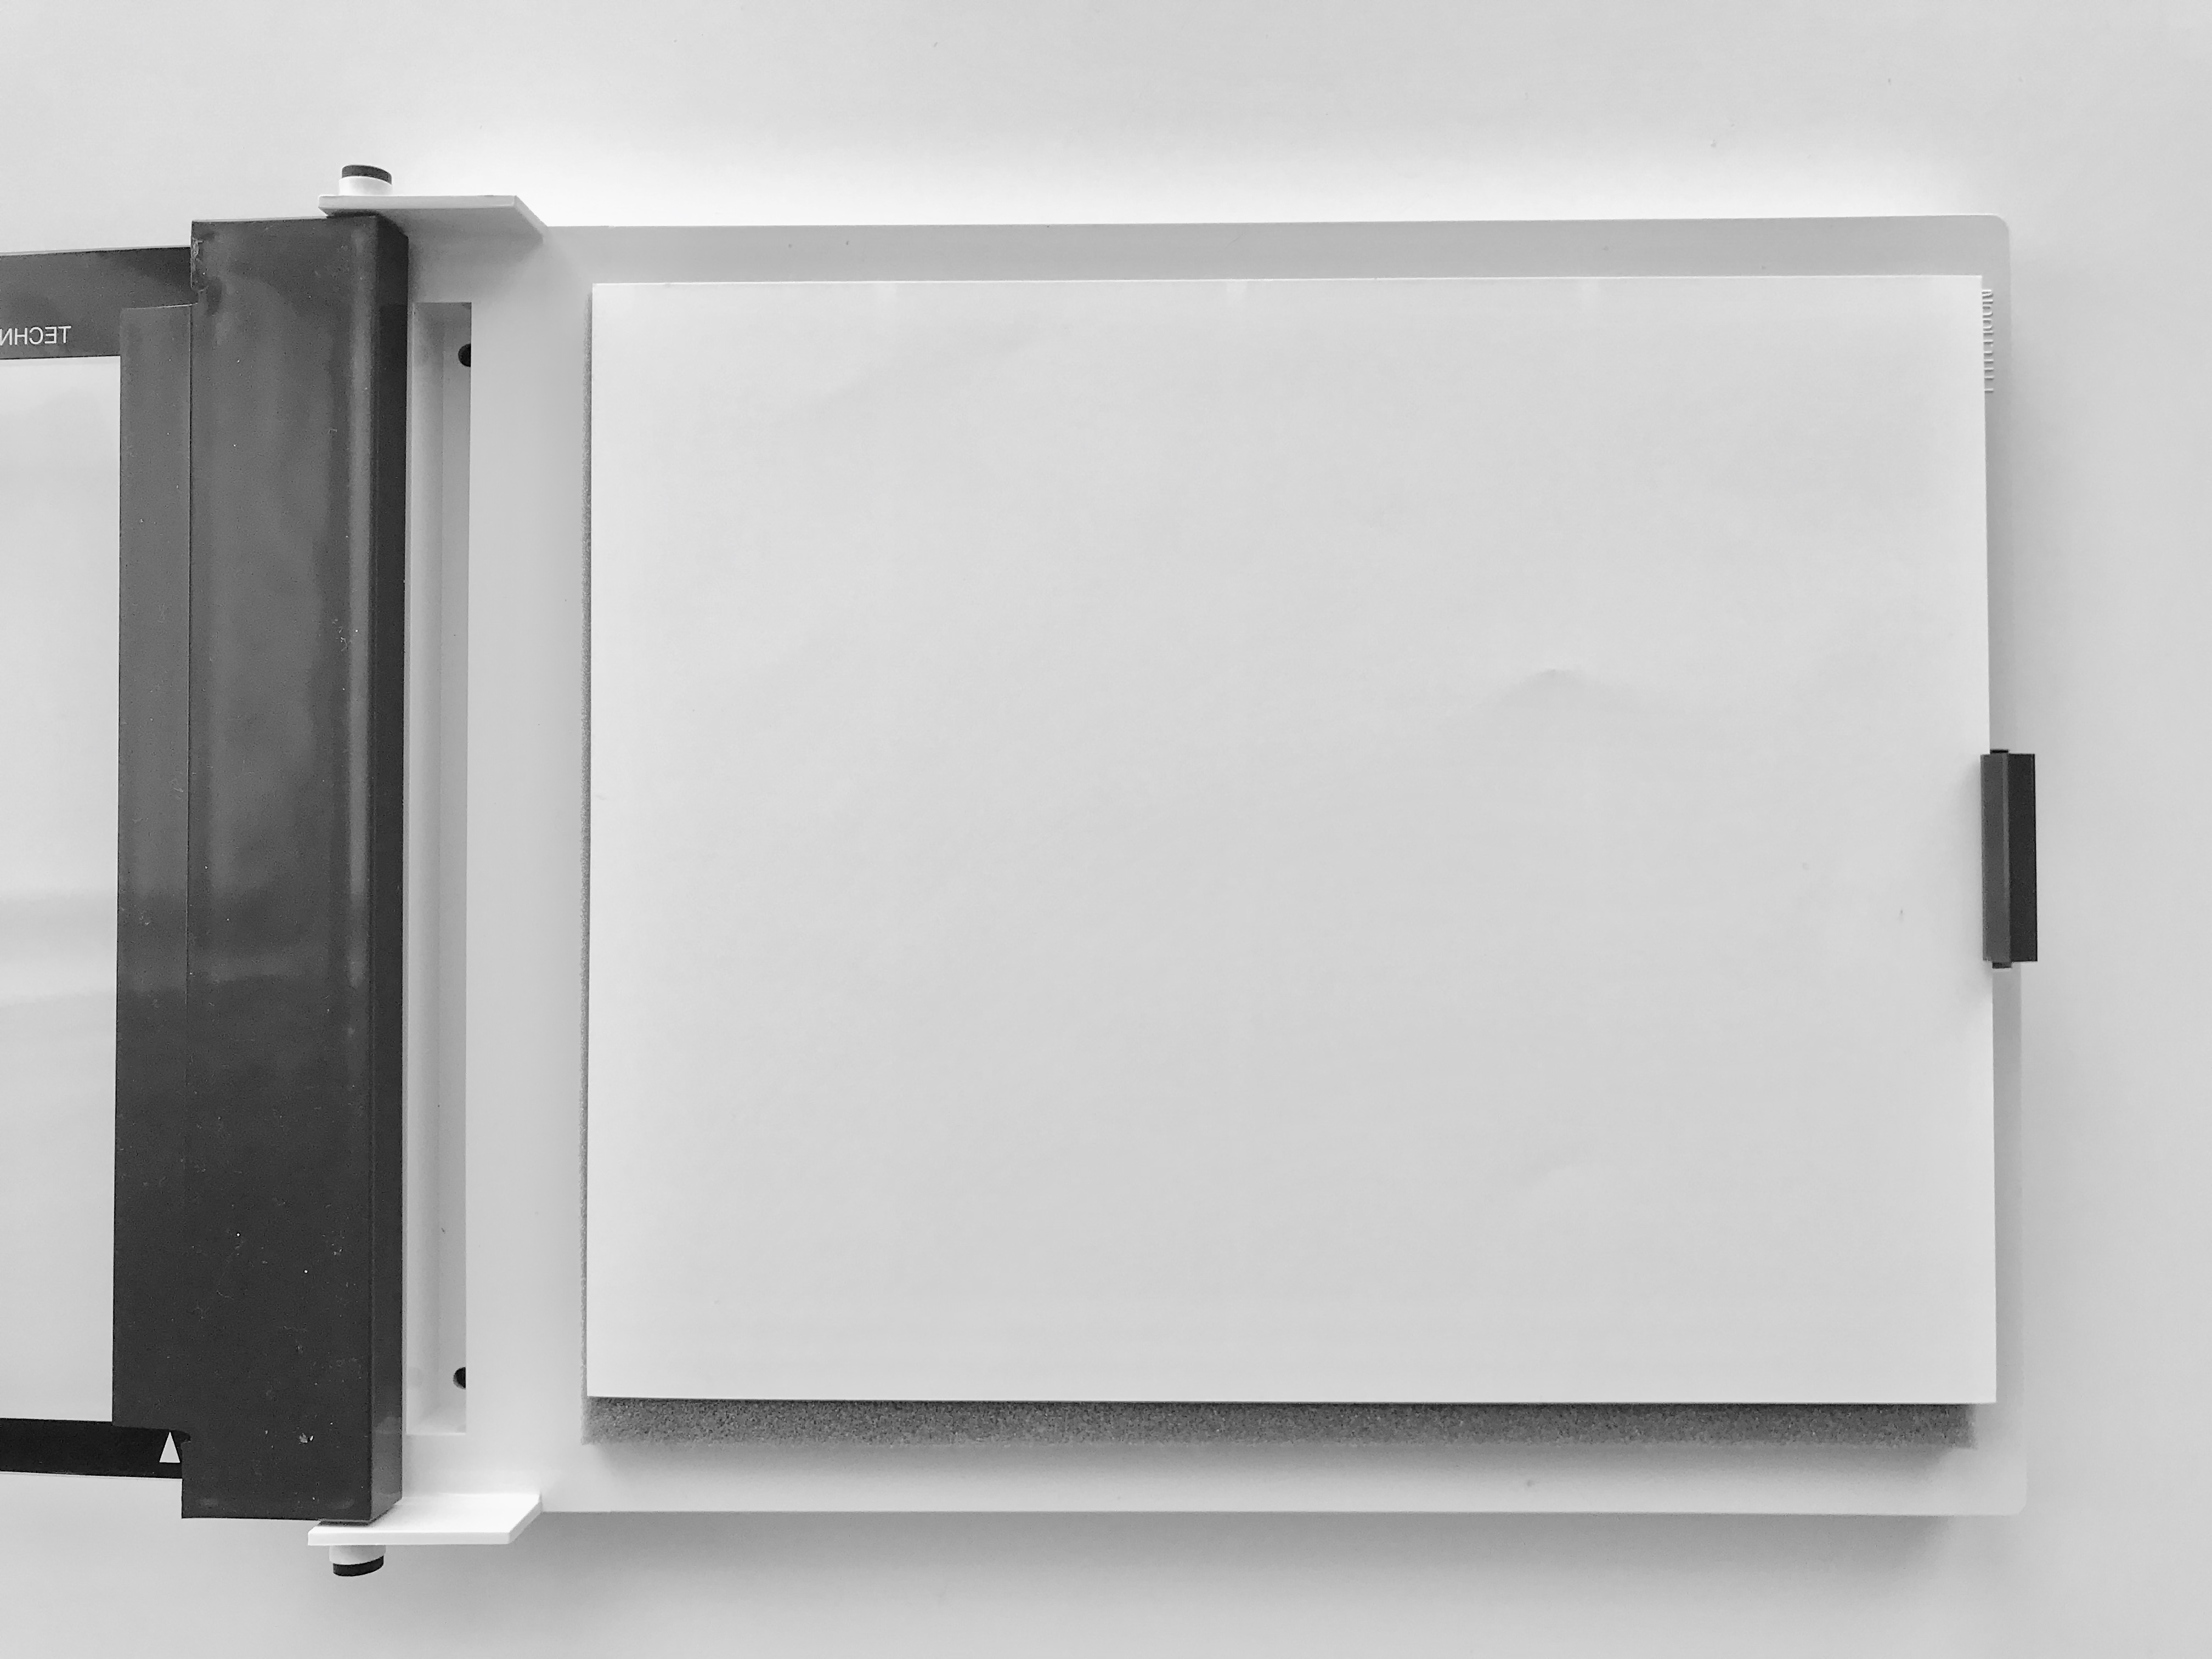
You’ll see that the last photo was much lighter but I have to make some compromises when doing a contact print so was happy with this and here is the final result:

First of all, I’m pleased I managed to get all the images the right way round! You’ll see that a couple of the photos are under exposed but at least I get an overview of the photos and can then choose which ones I’d possibly like to work on for enlarging into prints.
I’m very happy that I now know how to use the contact proof printer correctly and will be using it for all my black and white medium format negatives when I need to do a contact sheet.
