

When I was shooting a lot of my photos on 35mm film, most of my camera’s had a built in light meter or some form of light meter on them and I felt my photos exposed ok so I never felt the need to buy an external light meter.
Since I’ve been getting into medium format photography more, I knew at some point a light meter would be a good investment.
When I was using the Diana F+ medium format camera it had settings on the camera for sunshine, cloudy etc so I never felt the need to get one then either. Also, when I was using the Lubitel 166B, I pretty much went by the sunny 16 rule and would stop it down and change shutter speed by guess work depending on how cloudy or sunny the day was.
Once I knew that I was going to invest in a more expensive medium format camera, I felt it was essential for me to get a light meter so I could hopefully do the camera justice and get the best photos possible to my ability.
I really didn’t know where to begin when looking for a light meter. The choice to me was overwhelming!
The costs were also greatly different and I really wasn’t sure what make to buy or what to spend.
After researching light meters online, I felt I perhaps wanted to pay a bit more to ensure I got a better quality one and had in mind a budget between £80-£150 but I still wasn’t sure what to buy.
I also didn’t know if I wanted an electronic or manual one. Again, so much choice.
I was going to visit my local camera shop and have a chat with them about what would be best for me but as luck would have it, a fellow blogger had read one of my Lubitel posts and asked me if I had thought of investing in a light meter.
After having a chat with him, he suggested the Weston Light meter range. After looking into those light meters in more depth I did like the fact they were british made, looked of great quality, were nice and manual and also didn’t require batteries due to the selenium light cell.
These light meters appeared to have been mainly produced from the 1950s-1970s and I was a little concerned how accurate the reading would be today and if I would be better off buying a modern digital one.
However, my fellow blogger suggested a website called http://www.ian-partridge.com
Ian fully rebuilds, refinishes, and restores these old light meters with a new selenium cell.
I checked out the website and saw he had a variety of the light meters for sale. I knew from looking at them I would prefer a Weston IV or Weston V. I read some good reviews online about these particular models. I also liked how both styles looked.
To purchase one would cost me around £139.00 which was within the maximum budget I had in mind. I loved the fact they are fully restored so that gave me great confidence in how well they would work.
Before I decided to take the plunge and purchase one from the website, I decided to have a quick look at the Weston Master IV and V light meters on eBay.
I found several on there quite cheap but they obviously were old and hadn’t been restored so I was happy to pay more money for a refurbished one.
However, I was drawn to a particular one for sale on eBay which was the Weston Master V, as the seller stated that it had been refurbished back in 2014. He described it as being in excellent condition but he would only reveal who had refurbished it to the winning bidder.
This was all rather intriguing and I was really hoping, judging by everything that was included in the photos (manual and cases) that it was refurbished by Ian Partridge.
When I looked at the listing, a couple of people were bidding on the item and it was going for £10.50. I had looked at it on a Sunday and the listing was actually ending that evening!
I decided to take a punt and put in a last minute bid of around £60. I ended up winning the light meter for £31.15 with postage.
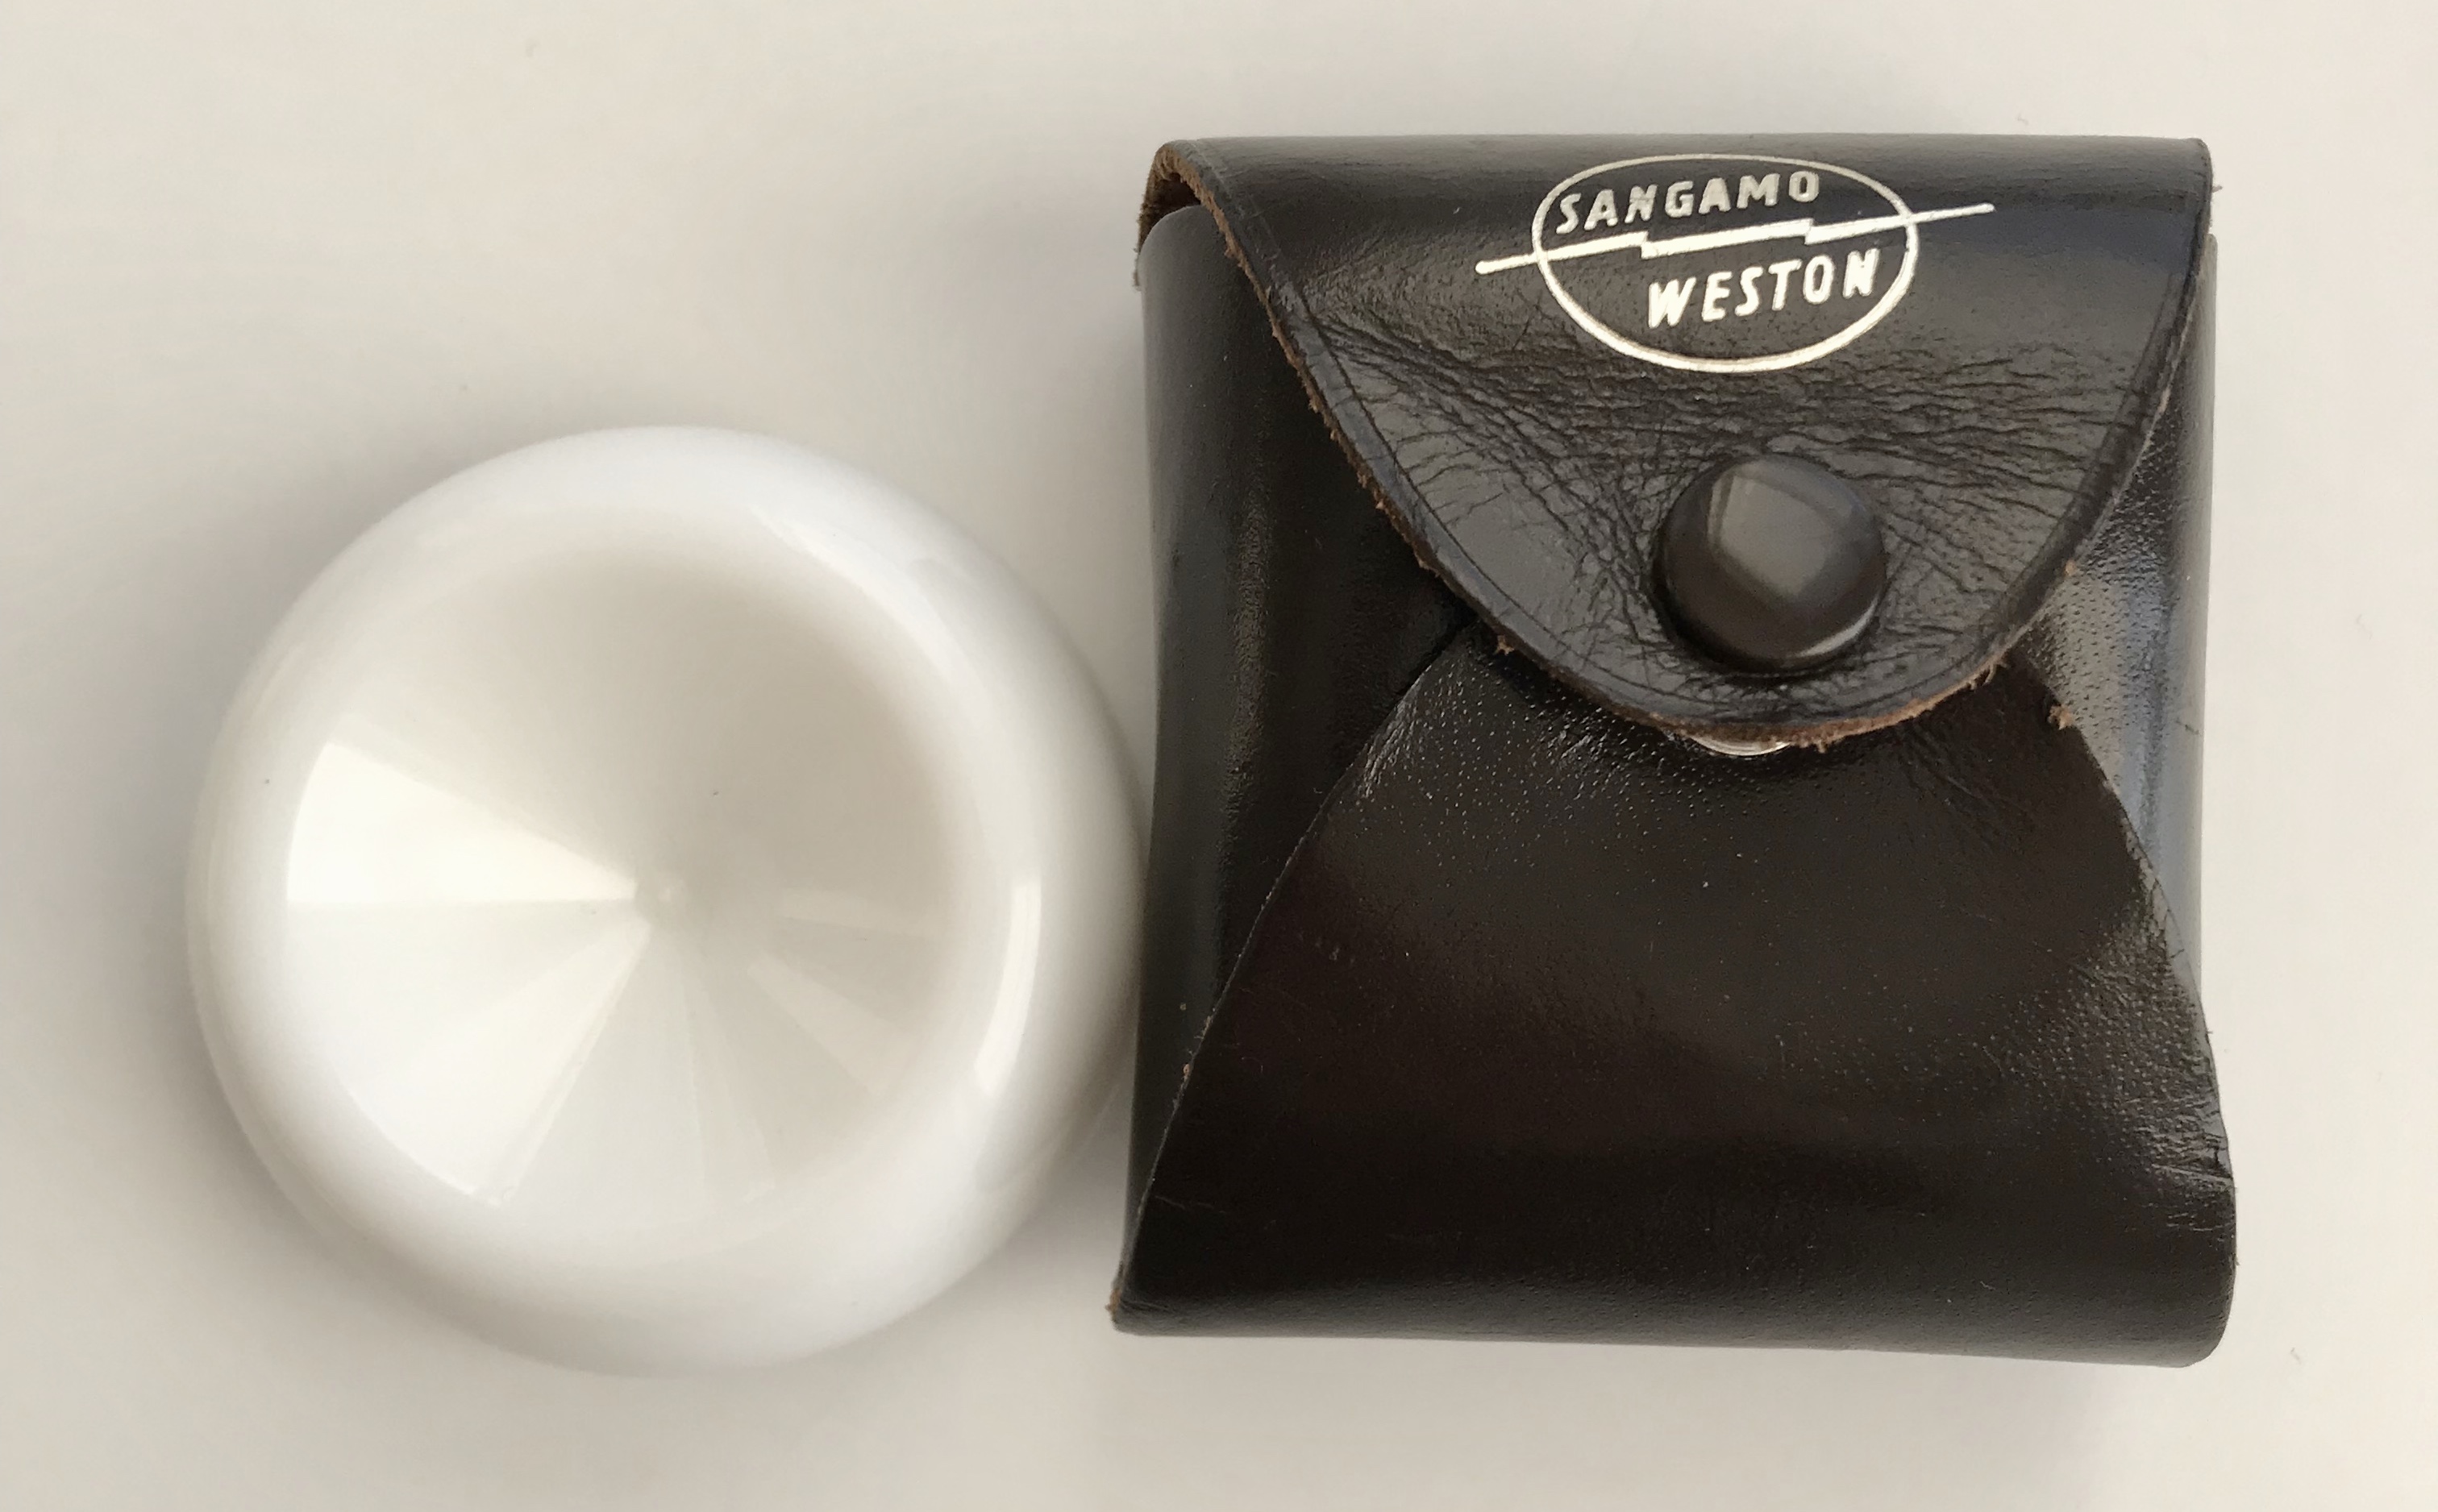
The light meter arrived with the original restoration paperwork and it was refurbished by Ian Partridge! I was over the moon!
The light meter looked shiny and brand new and felt of amazing quality in my hands and had a lovely weight to it.
I wasn’t sure how to use this light meter but since the manual was provided, I quickly learnt what I needed to do to make best use of it.
I first used it with My Hasselblad last week and in my previous blog I provided photos of what I took. I was really happy that the light meter seems to work perfectly as I was very happy with the exposure of the photos.
I feel extremely lucky that I was able to pick up an amazing light meter for a great price that will hopefully last me for years to come.
Here are some close ups of the light meter and invercone with their cases:

On a final note, I would like to say thank you to my fellow blogger, 35mm Film Shootist, for all his help on this.
